Instagram Flash Filter Prompt: How to Recreate the Viral Effect with AI
If you’ve been scrolling Reels and Stories lately, you’ve probably noticed the same look everywhere: a subject lit up by a sudden burst of light against a moody, darkened background, skin glowing like it was shot on a proper DSLR — and it all traces back to one thing, the instagram flash filter prompt. This look, often called the flash filter, cinematic flash, or flashing effect, has become one of the most searched aesthetic trends of the year, turning an ordinary phone photo into something that looks shot by a professional photographer with studio-grade lighting.
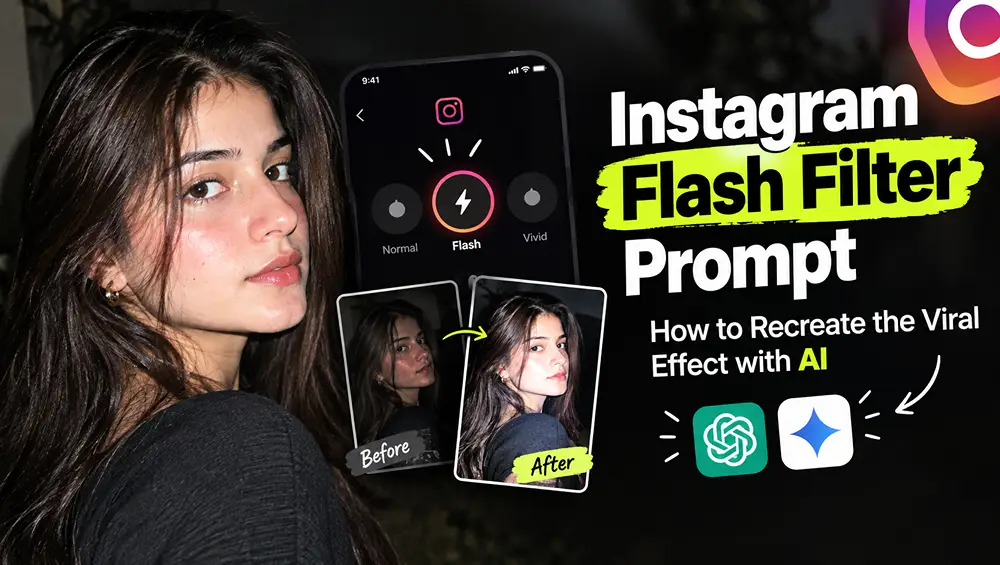
The catch is that Instagram’s native Flash filter, tucked inside the Restyle menu on Stories, isn’t available to every account, and even when it is, it’s often capped at limited daily uses. That’s exactly why so many people have turned to AI tools like ChatGPT and Gemini, using a written flash filter prompt to generate the same dramatic, high-contrast look on demand, on any photo, as many times as they want.
What Is the Instagram Flash Filter, Exactly?
The Instagram flash filter is a photo-restyling effect that simulates a direct, on-camera flash: it brightens the subject’s face and skin with a hard burst of light while pushing the background into deep shadow, boosting contrast and giving the image a punchy, editorial, almost paparazzi-style finish. It’s part of Instagram’s built-in Restyle tools, which apply AI-based style transformations to a photo you upload in Stories.
Visually, the effect combines a few distinct elements: hard, direct light on the face and upper body as if a flash fired straight at the subject; a darkened, almost black backdrop that isolates the subject from the environment; glowing, slightly overexposed skin with strong highlights on cheekbones, nose, and forehead; increased contrast and sharpness, which is what gives it that “professional camera” look rather than a flat phone photo; and occasionally, a cool blue or cyan tint creeping into the shadows, a signature of true flash photography.
How to Add the Flash Effect on Instagram (Native Method)
If your account has access to the built-in tool, this is the fastest way to get the effect, no prompt writing required.
- Open Instagram and tap the + icon to start a new Story.
- Select or take the photo you want to edit from your gallery.
- Look at the toolbar on the right-hand side of the screen and tap Restyle.
- Scroll through the style options until you find Flash (on some versions this appears under a different label depending on your app version and region).
- Tap it, wait a few seconds for the AI to process the image, and review the result.
- If you’re not happy with it, back out and re-apply — the underlying restyle model varies slightly each time.
The problem most people run into: the Flash option simply doesn’t show up for them. Instagram rolls these Restyle filters out gradually, and availability depends on your app version, region, and even your account’s activity pattern. There’s also a soft usage limit reported by many users, so even those who have it can’t spam it on every post. That gap is exactly why the AI Edit prompt route below has become so popular — it works regardless of what Instagram gives you, on any device, in any app.
How Filters Work Behind the Scenes
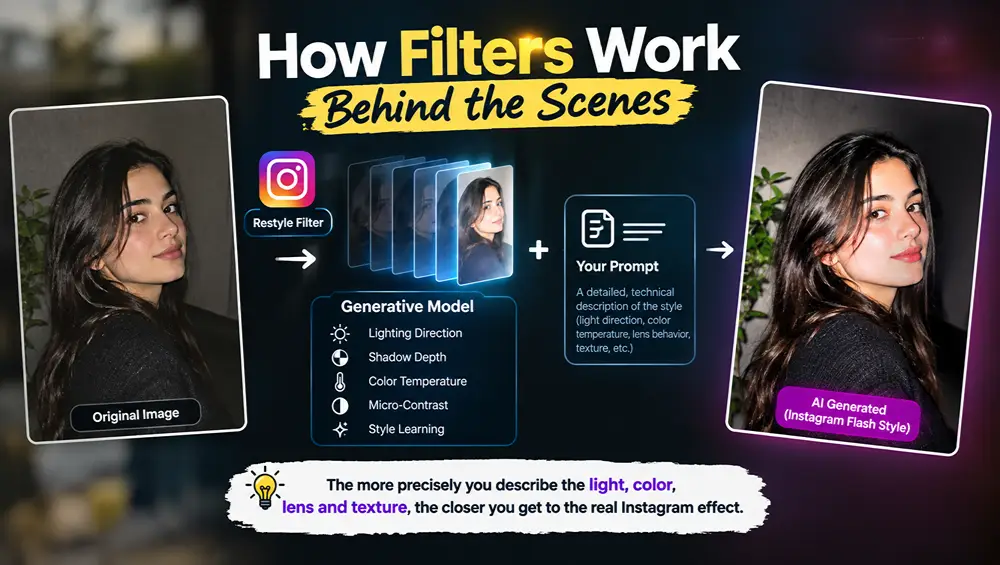
Understanding how filters work helps you write better prompts. Instagram’s Restyle filters, and AI image tools more broadly, don’t apply a simple color overlay the way old-school Instagram filters used to. Instead, they use a generative model that reinterprets the entire image — adjusting lighting direction, shadow depth, color temperature, and micro-contrast based on a learned “style” (in this case, direct flash photography).
When you use an AI image generator instead, you’re essentially replacing Instagram’s built-in style model with your own written description of that same style. This is why a vague instruction like “add a flash filter” rarely works well — generic AI tools don’t have Instagram’s specific model baked in, so they need a highly detailed, technically written prompt to reproduce the same lighting physics, skin rendering, and background falloff. The more precisely you describe light direction, color temperature, lens behavior, and texture, the closer the output gets to the real Instagram effect.
Instagram Flash Filter Prompt Library: 6 Ready-to-Paste Styles
There isn’t just one version of this look — creators online are running the flash effect in several distinct moods: raw street flash, glossy paparazzi, film-noir, soft aesthetic glow, and a grittier “dirty” flash. Below are six complete, ready-to-paste prompts, each built for a different scene. All of them work in both Gemini and ChatGPT — just upload your photo first, then paste the prompt right after it. Tap View Full Prompt to expand any box, then Copy Prompt to grab it in one tap.
1. Solo Night-Street Flash Portrait
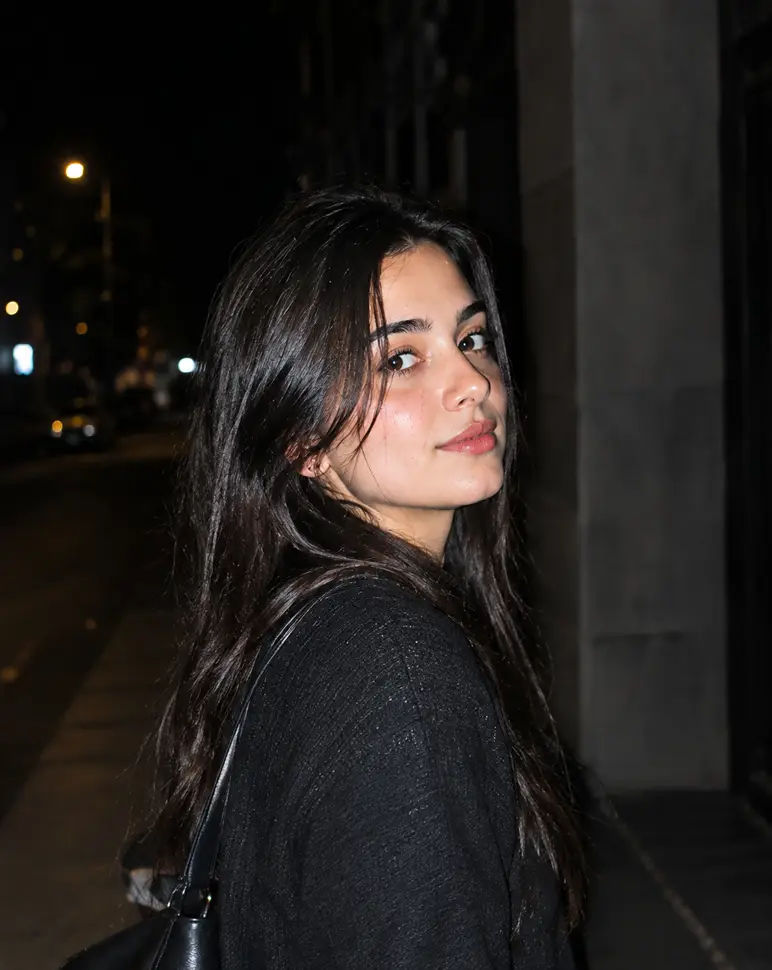
BEST FOR GEMINIBuilt for a single-subject photo near a street, wall, or doorway at night — the classic “caught by a flash” candid look.
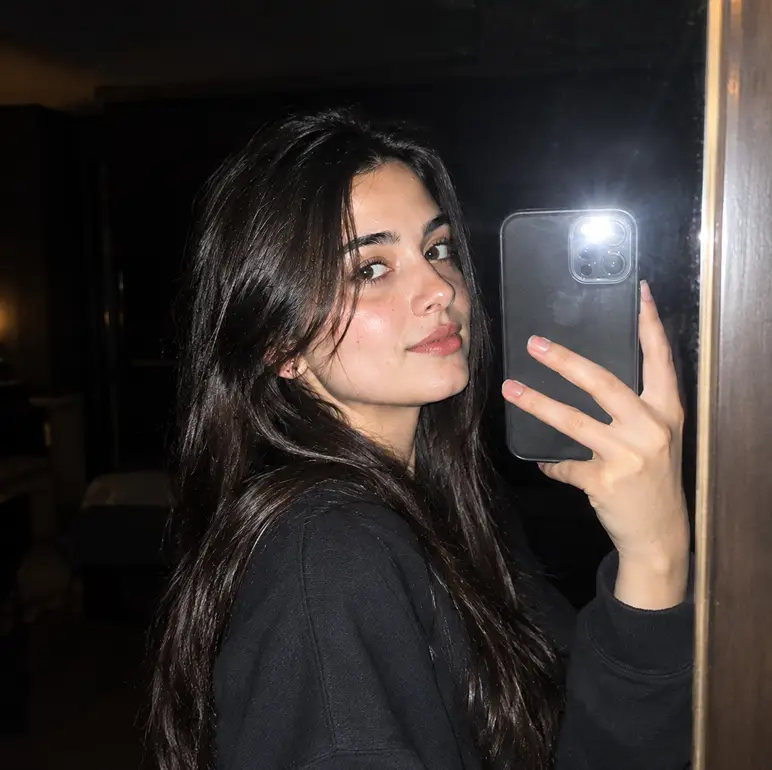
2. Indoor Mirror-Selfie Flash
BEST FOR CHATGPTSuits a bedroom, hallway, or bathroom mirror-selfie setup — the “getting ready” flash look common on Reels covers and profile pictures.
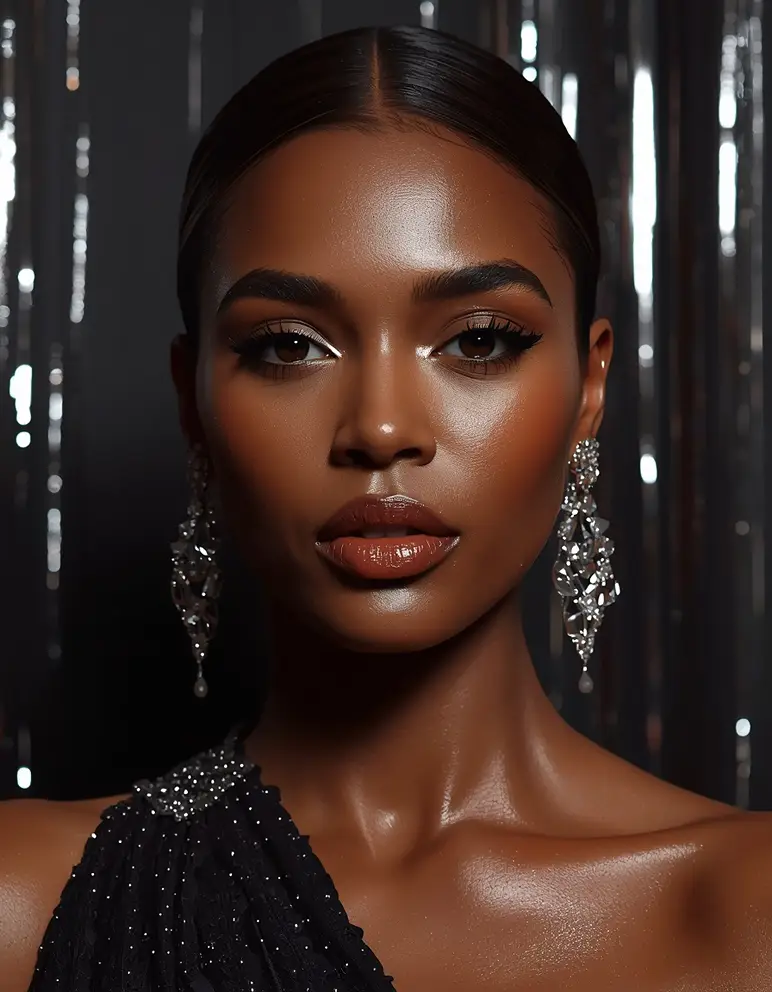
3. Glossy Paparazzi Flash (Red-Carpet Look)
HIGH-FASHION AESTHETICA punchier, high-fashion version with brighter blown highlights and a glossier skin finish, closer to red-carpet event photography.
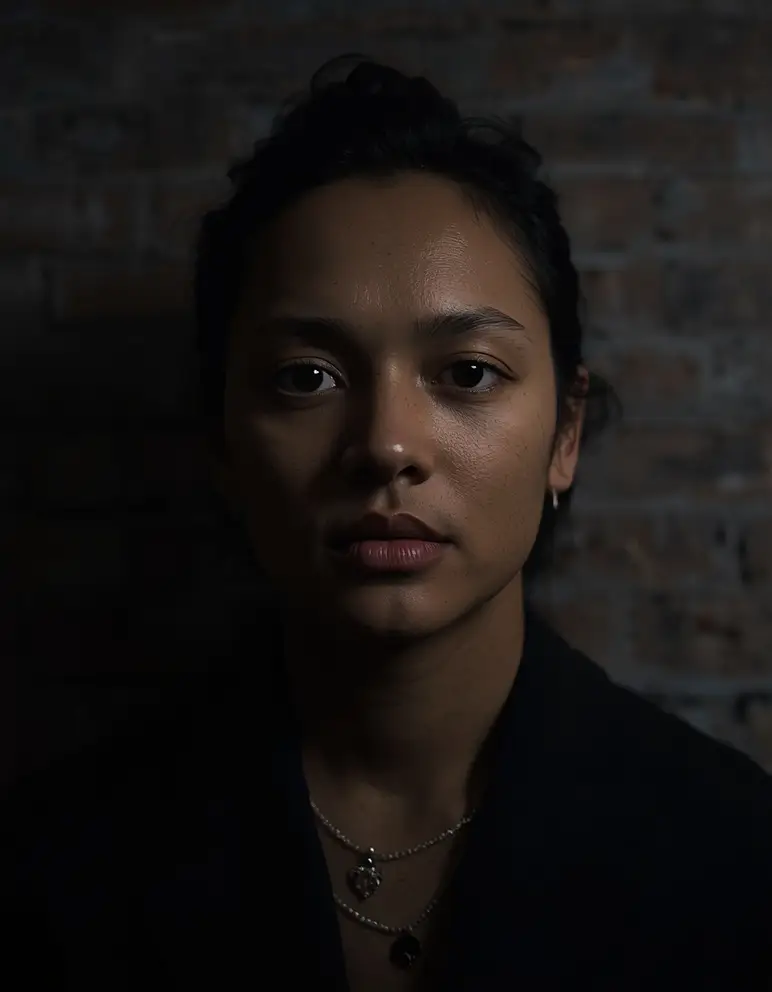
4. Film-Noir Brick Wall Flash
CINEMATIC / MOODYA moodier, cinematic variation set against a textured wall background, closer to a film-noir or editorial still.
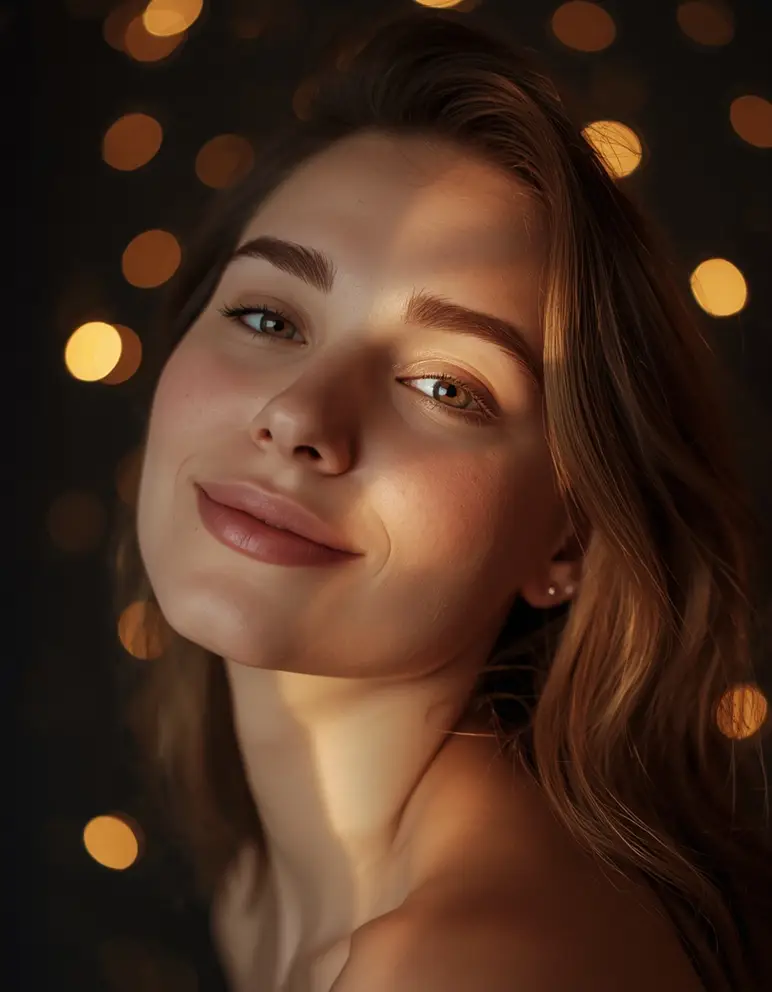
5. Soft Aesthetic Glow (Bokeh Background)
SOFT / DREAMY AESTHETICA softer, warmer, more “aesthetic feed” version with blurred ambient lights instead of harsh black shadow — good for profile pictures and softer Reels covers.
6. Dirty / Gritty Tabloid Flash
RAW / UNPOLISHEDA rawer, grainier, less-polished version for anyone specifically wanting the “dirty flash” aesthetic rather than a clean glossy look.
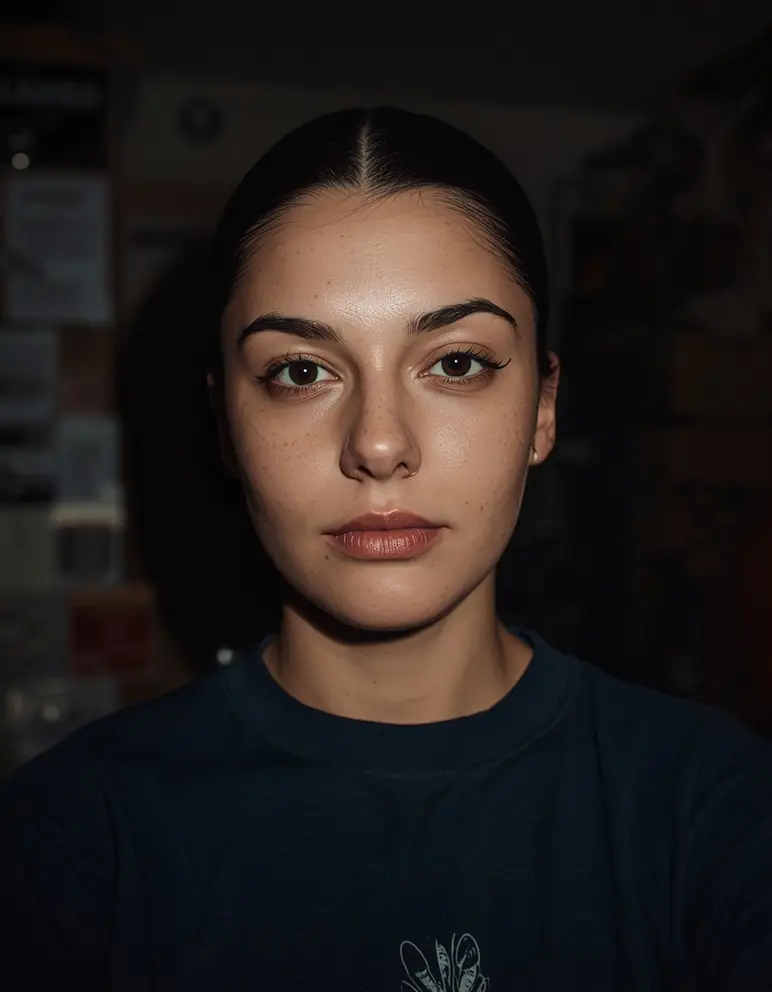
Each of these can be adjusted further — swap “she/he/they” references, add “preserve each individual’s separate identity; do not blend facial features” for a couple or group photo Prompts, or drop in a specific outfit description if you want the wardrobe to match a particular vibe.
How to use any prompt above on Gemini: open Gemini on your iPhone, Android, or in a browser; upload a clear, well-lit half-body or close-up photo of yourself (avoid extreme dark or blurry originals); paste the prompt right after the image; tap send/generate and give it 10-20 seconds to render. If the first output looks off, regenerate two or three times — Gemini’s output varies slightly on each attempt.
How to use any prompt above on ChatGPT: open the app or website and start a new chat; tap the + or image icon, choose Create Image, and upload your reference photo; paste the prompt directly into the message box; hit generate and wait for the render. If the result looks flat, ask ChatGPT to “make the flash harsher on the face and darken the background further” as a quick follow-up edit rather than starting over.
Editing the Flash Effect in Reels and Stories
A common follow-up question is how to add or edit this effect specifically inside Reels and Stories, rather than as a static photo edit.
- In Reels: record or upload your clip as normal, then look for Effects or Edit at the bottom toolbar. If Flash isn’t listed, apply one of the AI-generated flash-style photos above as your Reels cover image or as a still cutaway within the clip, adjusting brightness and contrast to match if blending with live footage.
- In a Story: upload the photo as described in the native method, tap Restyle and select Flash if visible, or paste your AI-edited image in as a new Story slide if generated externally. Use stickers and text sparingly — heavy text can clash with the high-contrast background.
- Editing a Reel you’ve already posted: Instagram doesn’t let you re-apply Restyle after posting, so the practical fix is to re-edit your original clip or photo, regenerate it with your AI prompt, and re-upload.
Fixing Common Glitches and Glow Issues
- Warped features or smeared backgrounds? Use a higher-resolution, well-lit original photo — low-res or grainy source images confuse the model.
- Cluttered background restyling badly? Simpler backgrounds restyle more cleanly than busy ones.
- First result looks glitchy? Regenerate two to three times rather than accepting the first output.
- Hands or hairline keep glitching? Add a direct instruction like “keep hands anatomically correct with exactly five fingers” to your prompt.
- Want an even grittier, “dirty flash” look? Style 6 above is already built for that. To push any of the other five styles closer to that same raw direction instead, just append this line: “increase film grain and shadow noise slightly, push contrast harder for a raw, gritty tabloid-flash aesthetic rather than a clean glossy finish, while keeping all face-preservation and anatomy rules unchanged.”
Tips for a More Aesthetic, Natural-Looking Result
- Start with a decent original photo. A blurry or poorly lit source photo limits how good any AI restyle can look — the model works with what it’s given.
- Don’t over-describe unrelated details. Stick to lighting, texture, lens, and composition; piling on unrelated style words tends to confuse the output rather than refine it.
- Keep the face-preservation clause in every version you write. This is the single biggest factor in whether the final image still looks like you rather than a generic AI face.
- Match aspect ratio to placement. Square or 4:5 for feed posts and profile pictures, 9:16 for Stories or Reels.
- Regenerate rather than settle. AI image models are inconsistent between attempts; two or three generations almost always beats accepting the first result.
Which Tool Should You Use: Gemini or ChatGPT?
| Factor | Google Gemini | ChatGPT |
|---|---|---|
| Face/identity consistency | Strong on close reference matching | Very strong across edits/follow-ups |
| Speed | Generally faster renders | Slightly slower, more processing |
| Iteration | Best re-run fresh each time | Handles “tweak this” follow-ups well |
| Access | Free tier available, app + web | Free tier available, app + web |
| Best for | One-shot restyle on a single photo | Photos you plan to refine over multiple turns |
There’s no single “best” answer here — which is best genuinely depends on your workflow. If you want one clean result fast, Gemini’s straightforward upload-and-generate flow works well. If you expect to go back and forth adjusting lighting or expression, ChatGPT’s conversational editing has an edge.
Frequently Asked Questions
What is the Instagram flash filter prompt?
It’s a written, detailed description used inside AI tools like Gemini or ChatGPT to recreate Instagram’s viral Flash restyle effect — a hard direct-flash lighting look with a darkened background — on any photo, without needing Instagram’s built-in filter to be available on your account.
Which is best, Gemini or ChatGPT, for this effect?
Both work well. Gemini tends to be faster for a single clean result, while ChatGPT handles follow-up tweaks and multi-step refinements a little more smoothly. Try the same prompt on both and pick whichever output preserves your face and lighting more accurately.
How do I use the prompt on Gemini iPhone?
Open the Gemini app on iPhone, tap the image/upload icon, add your photo, paste any copy-and-paste prompt from this article into the message field, and tap send. The process is identical on Android and desktop.
Why does my flash filter photo look glitchy or distorted?
This usually comes down to a low-quality original photo, a cluttered background, or the AI model struggling with a specific area like hands or hairlines. Use a sharper source image and regenerate a few times; add specific anatomy instructions if one area keeps glitching.
Is there a way to make the flash filter effect on Instagram itself, without AI?
Yes — if your account has access, go to Stories, select a photo, tap Restyle, and choose the Flash option. It’s not available on every account or app version, which is why the AI prompt method exists as a reliable alternative.
Can I use these same prompts for a couple’s photo or with more than one person?
Yes, with one addition: include an explicit instruction such as “preserve each individual’s separate identity and features exactly; do not blend or merge facial characteristics between subjects” so the model treats each face independently rather than averaging them.
Final Thoughts
The instagram flash filter prompt trend caught on because it delivers something people genuinely want: a way to turn an average phone photo into a striking, editorial-looking image without a professional camera, a lighting rig, or even guaranteed access to Instagram’s own tool. Whether you go through Instagram’s native Restyle menu when it’s available, or lean on one of the six styles above in Gemini or ChatGPT when it isn’t, the underlying formula stays the same — hard direct light, a darkened background, and skin that glows without losing its natural texture. Copy the prompt that matches your mood, adjust it for your own photo and platform, and you’ll have full, repeatable control over this aesthetic instead of waiting on a filter that may never show up in your app.